When I am not crazy-busy doing SAHM things, I sometimes dabble in cake-making.

I’m not crazy about the baking part, too messy, too worried about the taste/flavor/texture of the cake/frosting – too stressful. But a necessary evil if one is to be a cake-maker. Although licking the beaters does ease the pain.

I like playing with making the decorations and getting the cakes look pretty. Fondant is grown-ups’ Play-doh. Frosting is… well, frosting – great at any age.

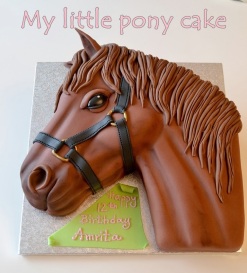
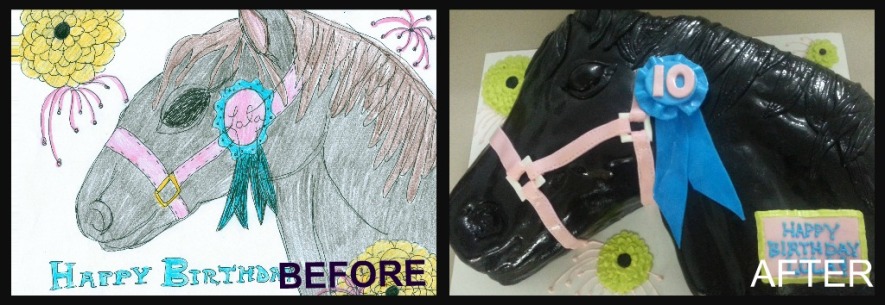
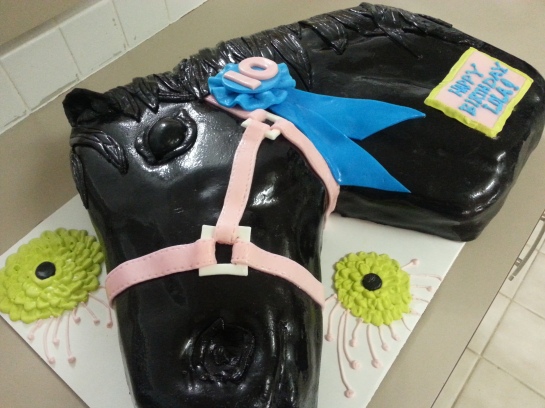
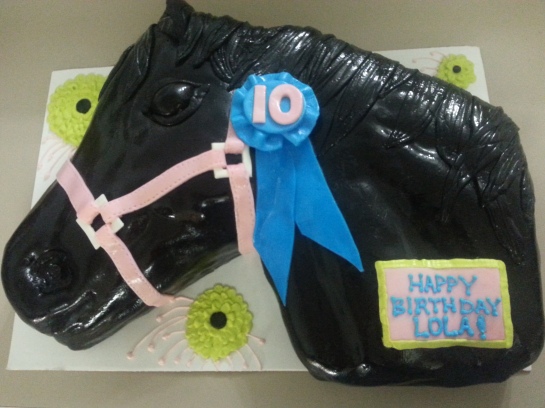
My friend Kylie asked me if I could make something similar to THIS for her daughter’s 10th B-day.  Her daughter takes riding lessons on a horse named Monkey :)

1

 gulp….

Until then, the most complicated thing I had made out of fondant was a bow. So I mulled, hemmed & hawed, stressed about it and then said yes.

It took a lot of planning, and a lot of “doing-ahead”, but it came out better than I expected.  I could not have done it without staring at Deborah Hwang’s pictures the entire time!

So, here’s my process:

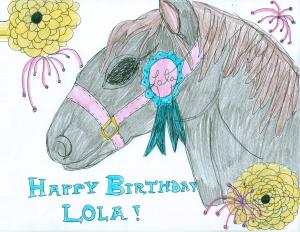
I started with a rough sketch for Kylie, so she could see what I had in mind.  From there we were able to tweak a few details to match her vision for the cake. I’m surprised she trusted me after seeing my sketch of this “almost-not-quite-horse-like-but-not-really-horse” creature. Nevertheless, she did and I got to it!

Lola's Horse Cake

1. I made 4 – 13″x9″ vanilla cakes using this recipe I found on cakecentral.com which was supposed to be good for carving. I made the layers 5 days before the cake was picked up, wrapped them tightly in plastic wrap, and froze them.  This was a great time-saver. Frozen cake also carves better.

2. I also made the chocolate marshmallow fondant * for the body and hair of “Monkey” ahead of time, and used black-gel coloring. I tripled this recipe. The night before I needed the fondant, I set it out on the counter so it could come to room temperature by the morning. Btw, this fondant is yummy! Like a tootsie roll!
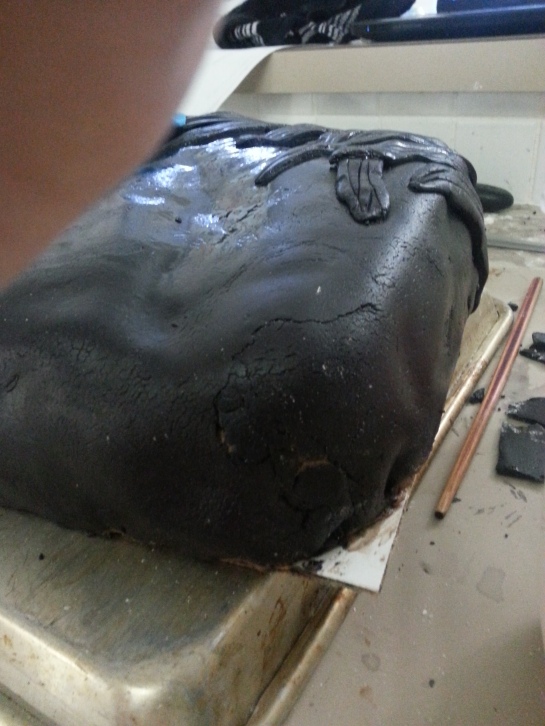
*My fondant was a little dry and started to tear when I rolled it out, so I had to cover the horse in 2 smaller pieces.  It probably had something to do with tripling the recipe, or my generous use of powdered sugar while rolling it out. Since I am a rookie fondant worker, I just covered a lot of the tearing with the other fondant decorations.
 

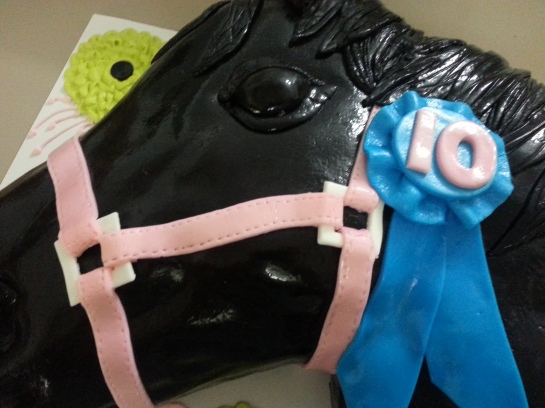
3. I used this recipe for marshmallow frosting to make the additional colors needed for the bridle and ribbon. I made some of the decorations ahead of time- the bridle links and the ribbon head along with the numbers (I made the bottom part of the ribbon fresh so the fondant could mold to the shape of the horse’s neck).

4. For the writing and flower decorations, I used Wilton’s meringue powder and their instructions for Royal icing. I divided it and used gel dye to get the desired colors.

5. The cake was filled and covered with this whipped chocolate frosting.  I made 1.5 times the recipe…. and I also added more whipping cream and powdered sugar to the remaining frosting after I filled the cake and realized that I didn’t have enough to cover the cake.  The whipping cream just made the frosting a little fluffier and airy.

Ok, so here’s the assembly part: (pics were taken on my phone camera, please forgive me)

I placed 2 cake layers side by side (long sides touching), and then placed the other 2 layers on top of them.

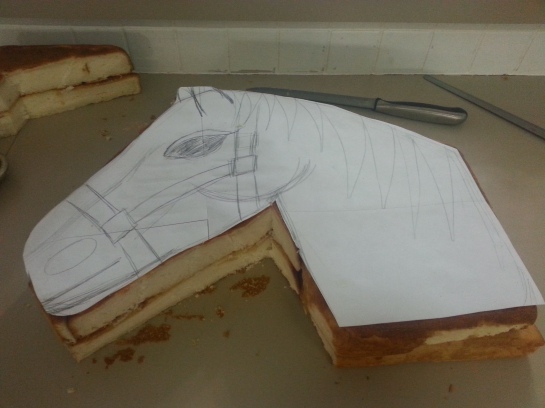
I taped 4 sheets of paper together to sketch my horse.  I cut the paper out to 19″x14″ which was the size of the Wilton’s cake board that I purchased from Wal-Mart.

I sketched a picture of a horse head onto the paper and cut it out.

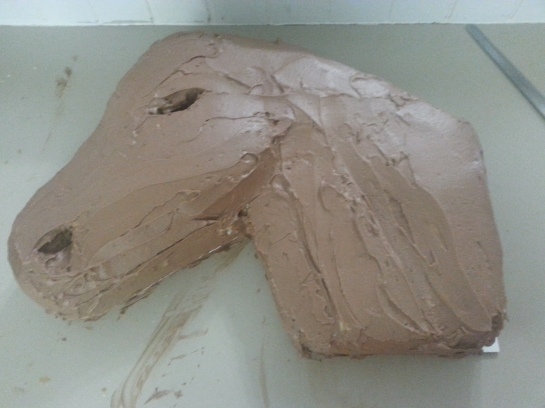
I placed the paper on the cake layers and cut the outline of the horse.

20140822_082914

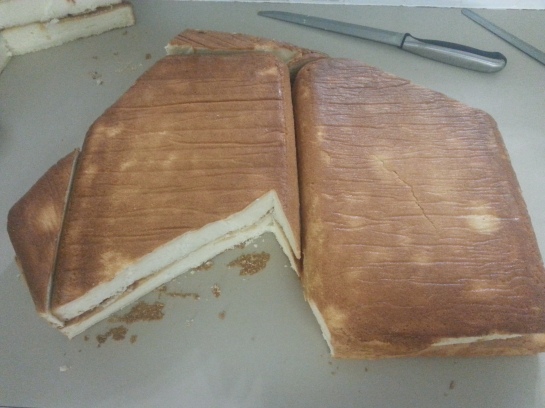
 I used the “scrap” pieces to fill in the tip of the nose and the top of the head. Then I placed these layers onto a cake board and “glued” the bottom layers onto the board using frosting. I trimmed the cake board to the shape of the cake, leaving a 1 cm border for the fondant (not shown in pics).

20140822_082959 


While looking at the inspiration cake instructions online, I tried to copy the way she carved indentations into her horse head.  On a side note, don’t cut with the knife blade facing you or another body part- I got a really deep cut on my thumb from it. A frozen cake takes a little more muscle to carve, but I think the cuts come out smoother and cleaner.20140822_090339
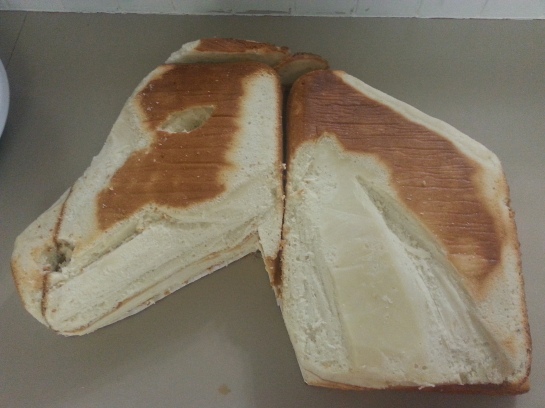
 

After carving, I ran my knife between the layers in order to separate the top layers from the bottom ones.  I frosted the bottom layers and placed the corresponding layers on top. I used frosting to “glue” the layers together, especially the small nose and top-of-head pieces.

This is where I saw I wouldn’t have enough frosting to cover the entire cake, so I added more whipping cream and powdered sugar to the remaining frosting and whipped it until fluffy.  Then I frosted the cake.

20140822_094323

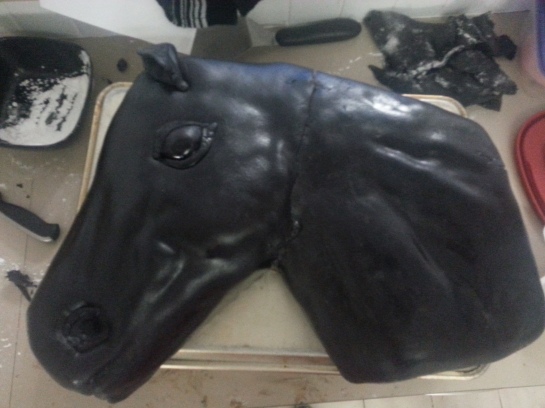
Then came the most gut-wrenching, nail-biting (didn’t actually bite my nails while making a cake, that’s gross), heart-stopping part of the cake.  I rolled out my black chocolate fondant and saw that it was starting to tear, booooo :(

Instead of covering the cake in one glorious, seamless, gleaming piece, I had to roll out 2 separate smaller pieces which left a seam on the neck.  I was ok with that because I knew the ribbon would cover  most of that.  I also had some uncovered parts on top of the head, which was okay because I would cover them in horse “hair’ later.

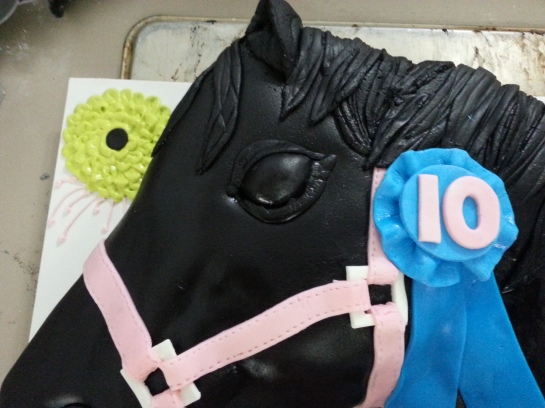
I then added an eye and the eyelids.  Nostrils and ears came next.  I used some balled-up plastic wrap inside the ear as a support until the fondant dried.

20140822_102459

Why fondant?? why you have to do that??!! In some areas where the cracks were smaller, I used a damp paper towel to gently smooth them out. Kinda like cellulite after a tan – still there, but less noticeable.

20140822_114644

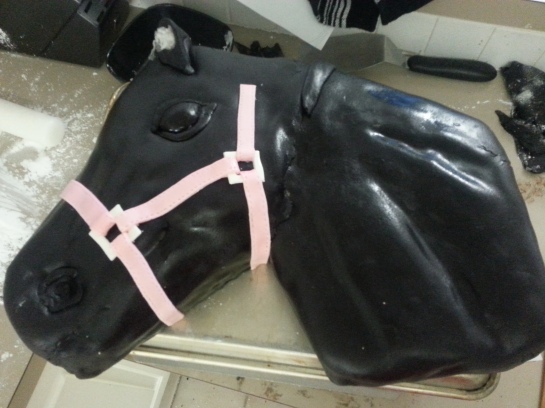
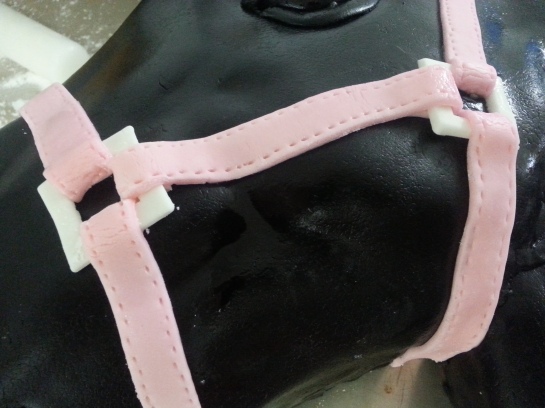
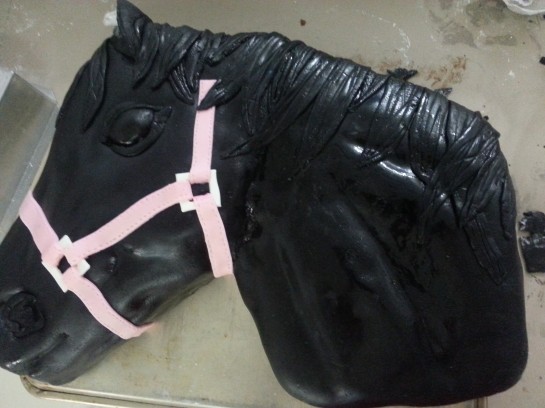
Next, I cut out the bridle pieces and added them to the previously made bridle buckles. I used a paintbrush to add a very thin layer of water to the back of the bridle in order to glue it to the horse.

20140822_105114

I used a toothpick to make the “stitching” on the bridle.

20140822_105122


I added hair by cutting out strips of fondant and made lines in them by running a toothpick over them. I strategically placed them over large cracks in the fondant.  I was hoping to make more 3D hair, but I ran out of fondant.

20140822_113257


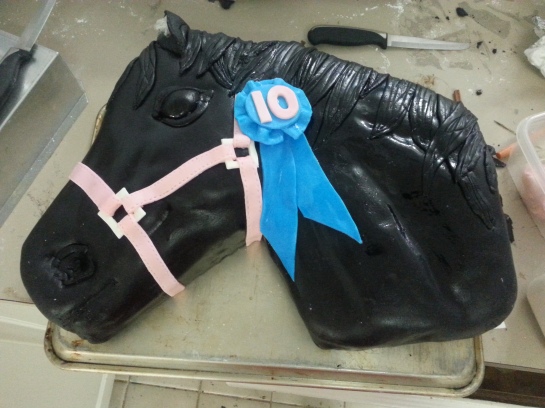
Then I glued the head of the ribbon on using some royal icing.  I added the bottom of the ribbon pieces on using a little bit of water on back. Now the horse head was done!!! I used a damp paper towel to gently rub off any bits of stray fondant or powdered sugar.

20140822_114604

Finally I placed the cake on a full 19″x14″ cake board and glued it on with frosting.  I used the royal icing to pipe the decorations onto the board. 

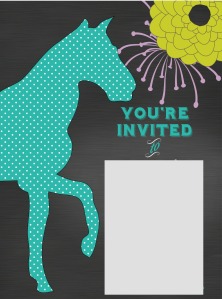
Her invitation was the inspiration for colors and decorations on the cake board.

AugustLola (1)

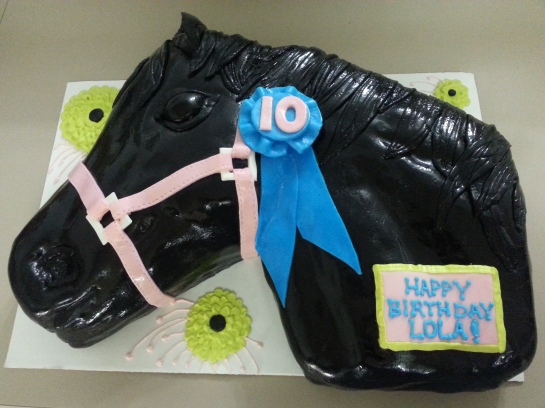
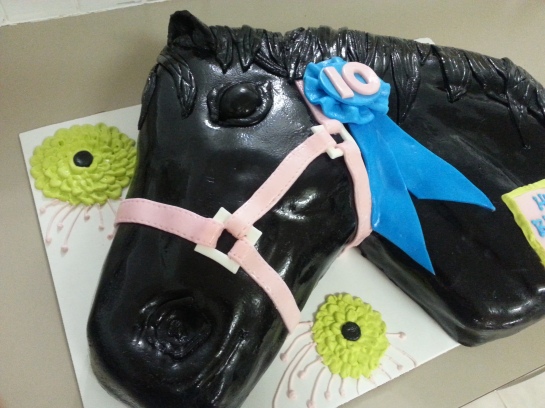
The FINAL outcome!
BEFORE AFTER HORSE CAKE

20140822_203420 20140822_203437 20140822_124051 20140822_203500 20140822_203449 20140822_203408


..well, my husband’s made-up-just-for-me-because-he-knows-how-much-I-LOOOOVE-“Chopped” version.

Last Saturday afternoon, I get a text from my husband who is at Whole Foods: “Chopped challenge, prepare your mind.” What??!! Awesome!!

I went through a phase where I watched old “Chopped” episodes on a nightly basis, right before bed, making multiple comments, multiple times on how I wish I could compete/judge in that show.

So imagine my excitement upon reading that text!!!

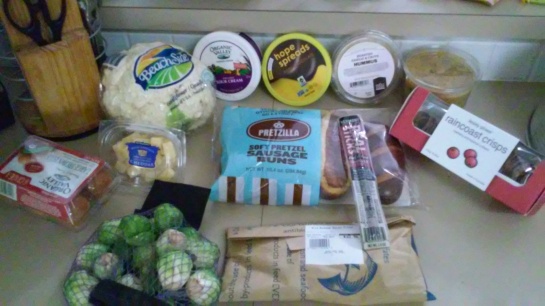
So, he comes home a little later with the following 12 ingredients:

20140719_174322

  • Cauliflower
  • Sour Cream
  • Organic dark chocolate sauce
  • Garlic herb hummus
  • Fresh ground almond butter
  • Aged cheddar
  • Pretzel buns
  • Brussel sprouts
  • Atlantic salmon
  • Raincoast crisps (bread crisps w/cranberry, nuts, seeds)
  • Organic eggs
  • Beef stick (fancy Slim Jim)

And these were his “rules”:

  1. All ingredients must be used.
  2. I had a total of 70 min to complete and plate an appetizer, entree and dessert (unlike the show where the appetizer round is 20 min, dinner 30, and dessert 20).
  3. I was also allowed to search for a cream puff recipe online, because I didn’t have time to memorize any dessert recipes give the 1 hour “heads-up”. (which I obviously would’ve done, had I been given more notice, obvi)
  4. We would be the judges. (best part)

It was by faaaaaar THE most exciting thing I have ever done in the kitchen – almost as much adrenaline pumping as that time we climbed Half Dome in Yosemite and thought I would plunge to my death… but this was less “fear-of-death” more “fear-of-the-timer”.

So, he set the timer, and I FLEW!!

Ovens on! Stove on! Every single clean pan in my cupboards out! Knives flying! Spoons stirring! It was exhilarating!!!!!

Deric got in on the action too as he played cameraman and filmed some of the action.

I had everything plated with only seconds to spare!
So, after the most awesome 70 minutes of my cooking life, here is what we ate for dinner.

Appetizer: 

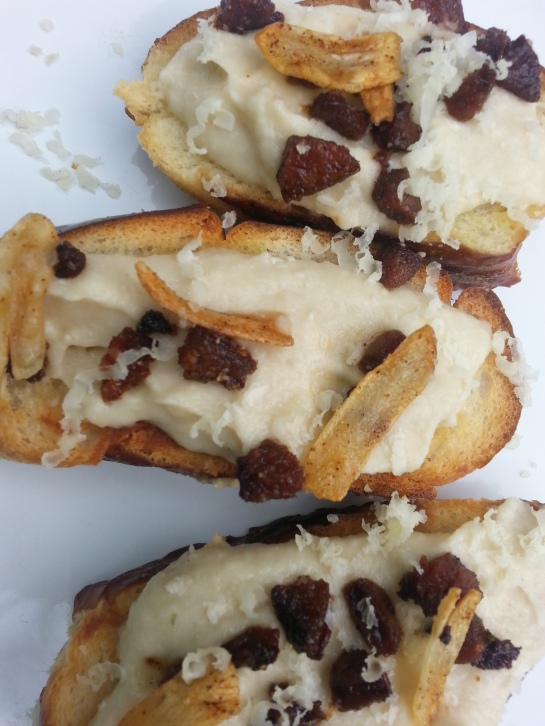
Pretzel bread crostini with cauliflower & Aged cheddar hummus spread – topped with Fried paprika beef stick crumbles, chili garlic chips and shaved aged cheddar.20140719_190734

Main Course:

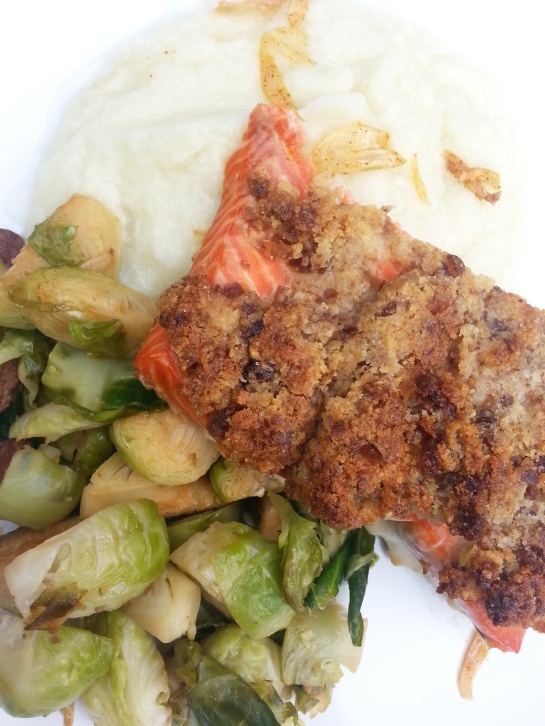
Baked Atlantic Salmon with a pretzel/crispbread/aged cheddar crust, Pan-roasted beef-stick Brussell Sprouts, Aged cheddar mashed Cauliflower topped with chili garlic chips20140719_190811

and for my favorite………..

Dessert:

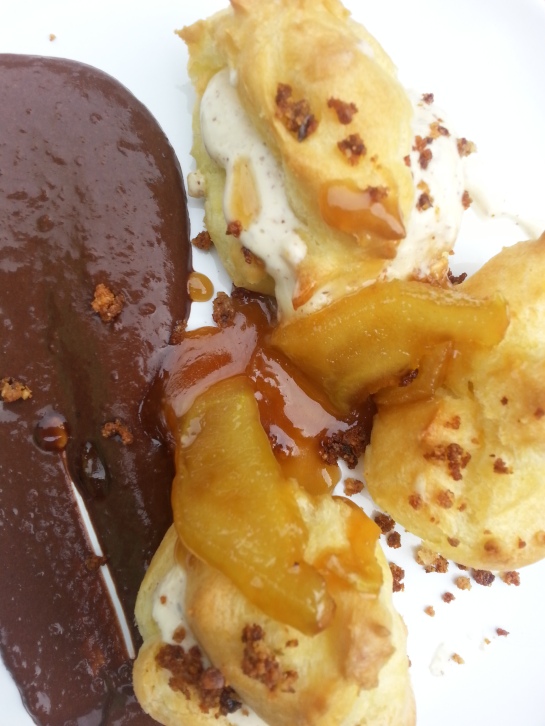
Cream puffs filled with a Sour Cream & almond butter cream served with Brown sugar glazed apples, Dark chocolate cinammon sauce and topped with a pretzel/crispbread/cheddar strussel.20140719_190745(0)

And the winner is….

US! we got to eat it, and I had a blast!
My favorite course was dessert.  I will try to recreate it someday, or some version of it.

I’m pretty sure we will be doing this on a monthly basis, it was just too much fun! Next time, he will be going to the Asian supermarket….. eeeeeek!! so excited!

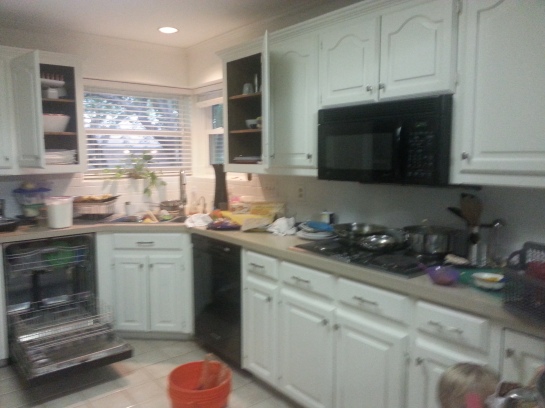
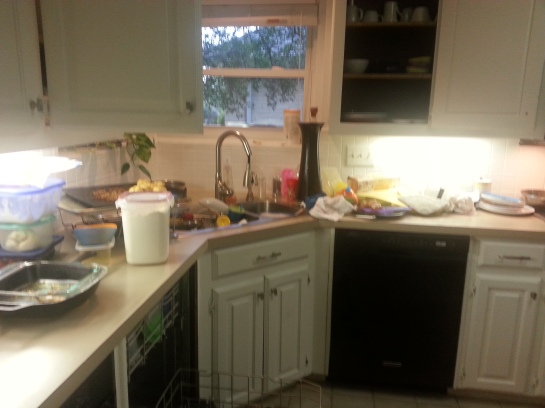
AAAAAND, this was the aftermath….20140719_19381020140719_193739….but no worries, my adrenaline was still pumping, so I was walking on air even as I was cleaning.

And my husband, well, he got the “BEST-HUSBAND-EVER” award :)

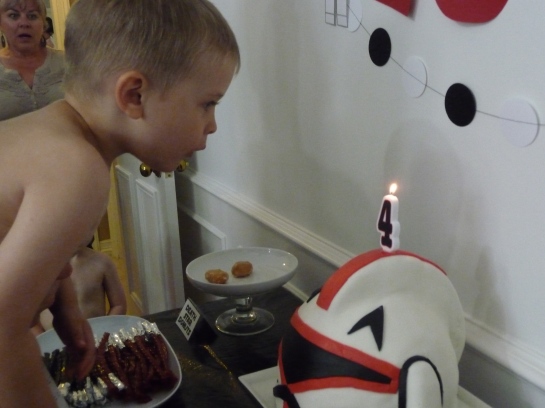
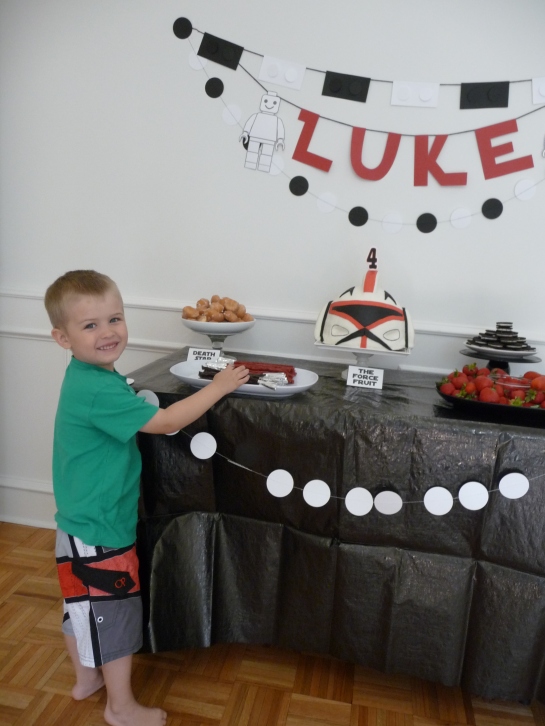
This baby is 4.  Where oh where did the time go?!

0


He is really REALLY into Legos… and not the mega blocks or Duplos… he likes the big boy Legos!

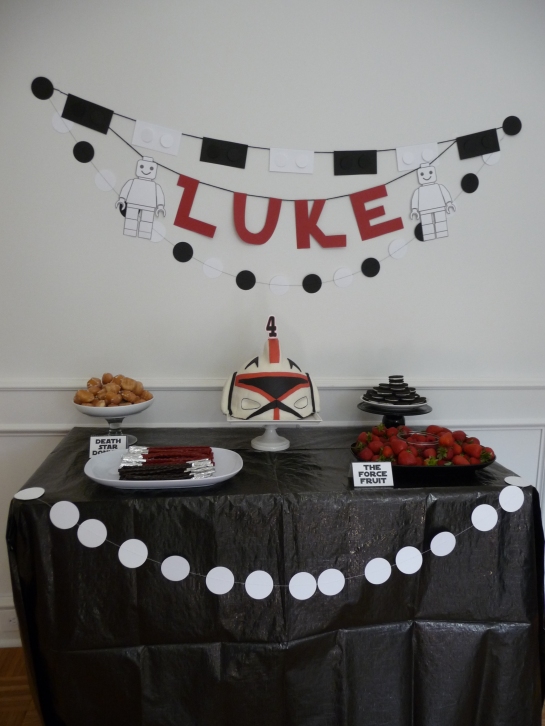
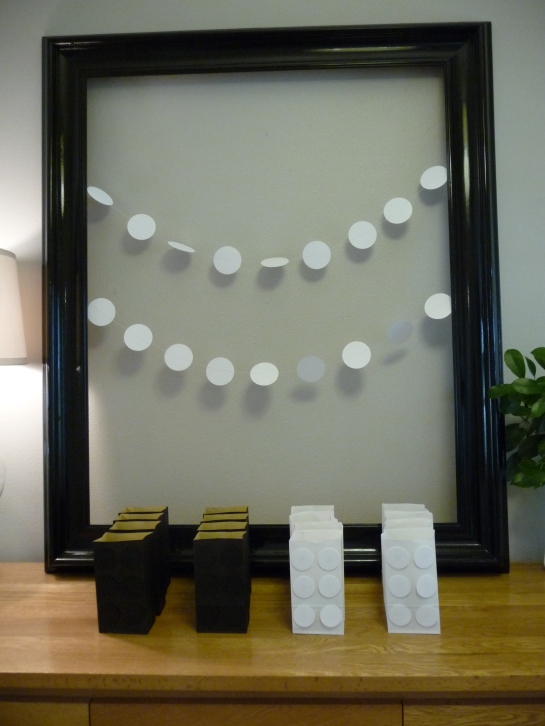
This year he requested a Star Wars Lego party.  It’s fun to see him so passionate about something. Well, he first requested a superhero-starwars-Chima-angrybird-transformers-Lego party, but I managed to talk him into narrowing it down a little.

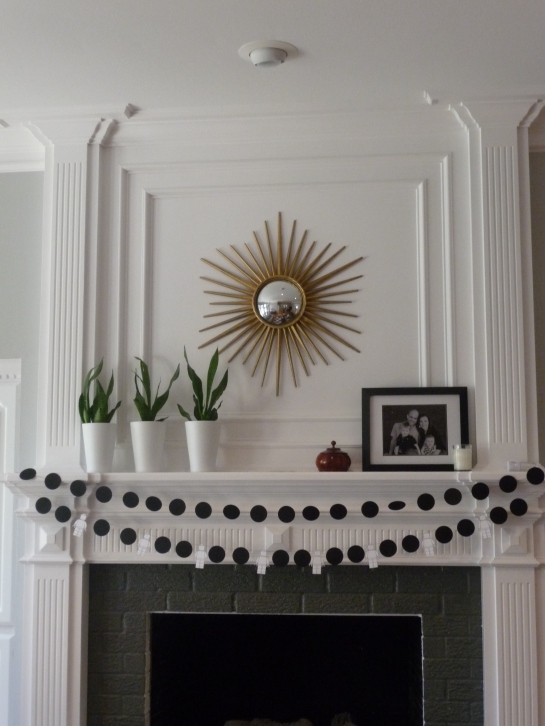
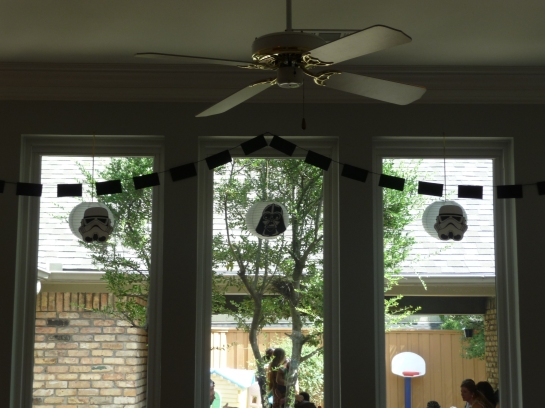
A lot of the decor was compliments of Pinterest.

P1130585 P1130584 P1130583 P1130537

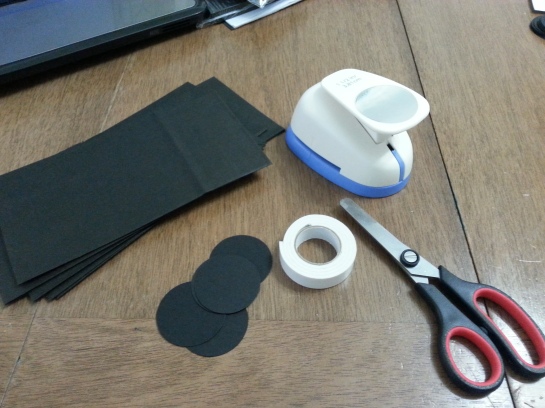
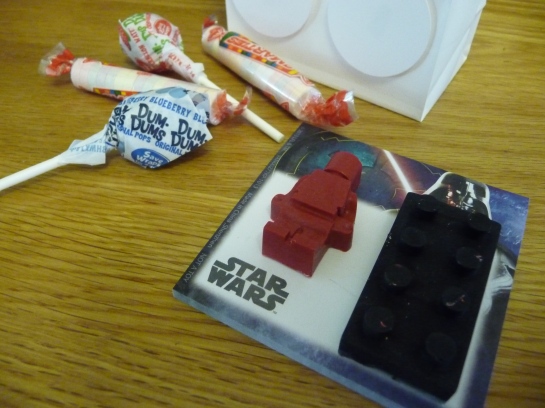
As were the party favors which were Lego bags made from small paper sacks and circle card stock.  The Lego men and block crayons were made using some cute molds and melting down black and red crayons bought on Amazon (I didn’t have enough broken red/black crayons since those are his favorite colors and he always uses them up).

20140709_085407

P1130633 P1130582

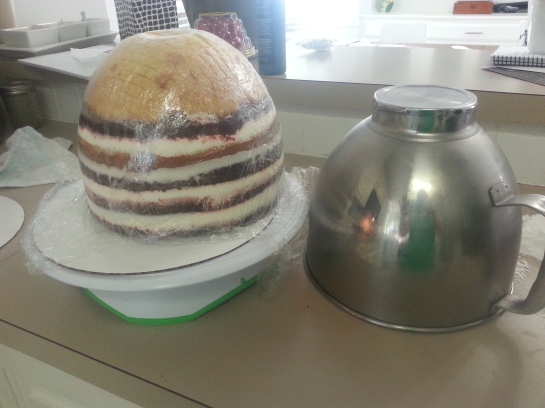
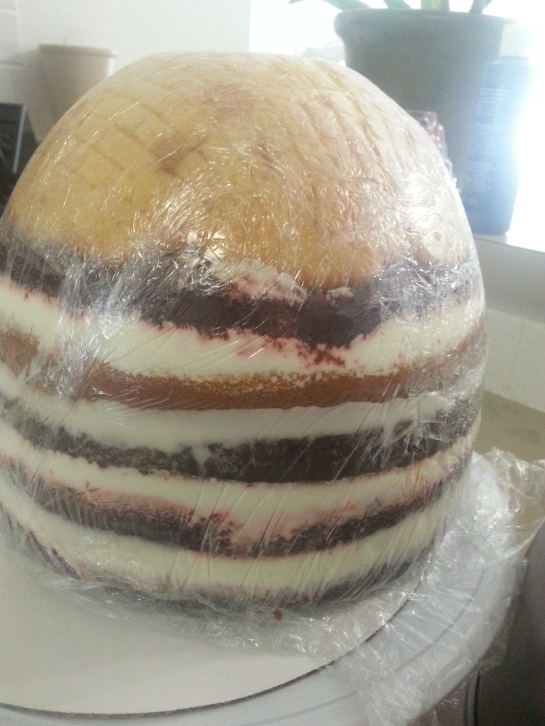
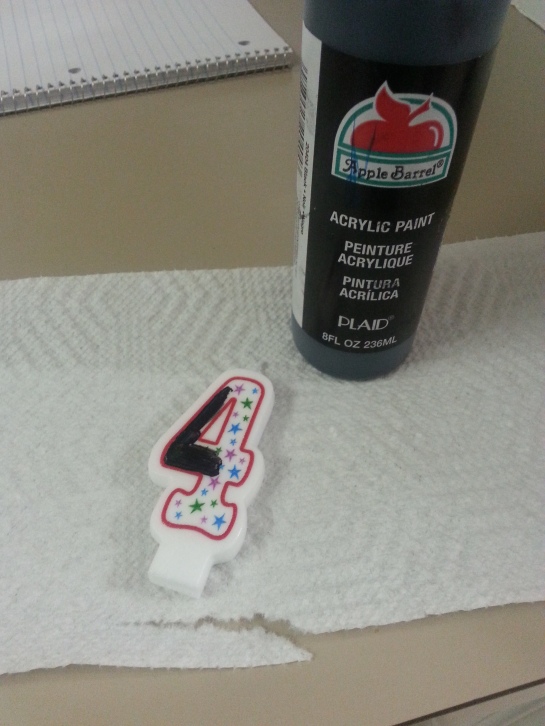
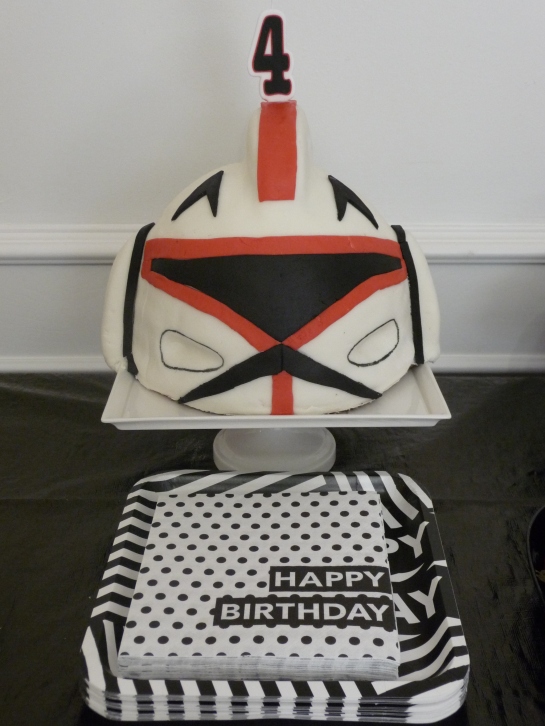
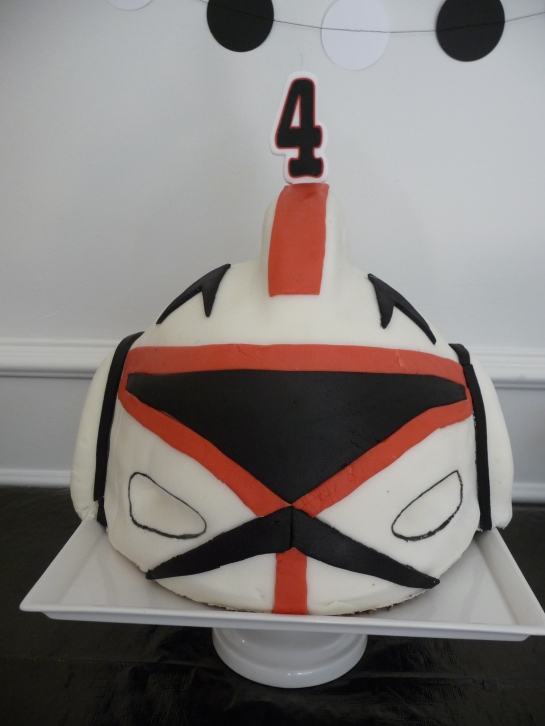
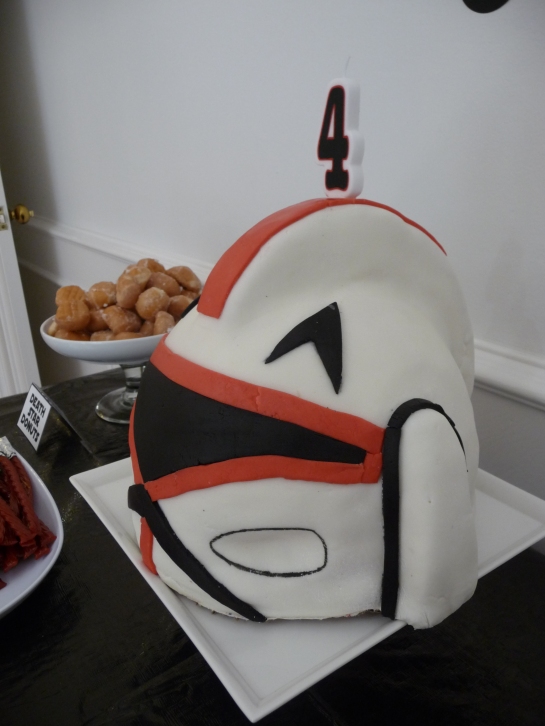
His cake was a red velvet and yellow cake, with butter cream and white chocolate filling.  I made it in the shape of Clone Captain Rex’s helmet following a YouTube video tutorial, but changed his coloring from blue to red to accommodate Luke’s favorite color.  I also covered it in homemade marshmallow fondant (soooo much tastier than the store-bought gunk) and used the fondant for his helmet decorations.

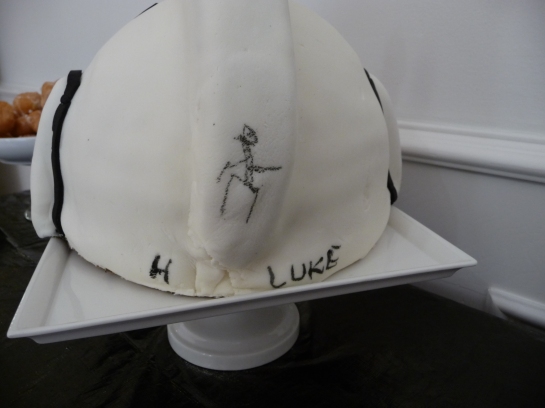
20140710_180600 20140710_18060620140710_082041P1130589 P1130540 P1130541I used an edible ink marker to outline his mask, and Luke wanted in on the cake-writing, so I let him autograph the back….. that’s also where it’s especially apparent that this is only my 3rd fondant cake and I have a lot to learn.

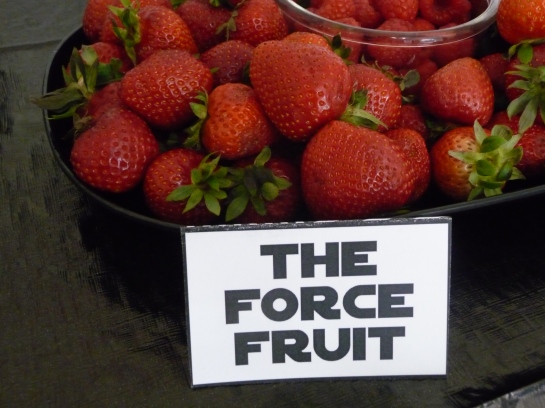
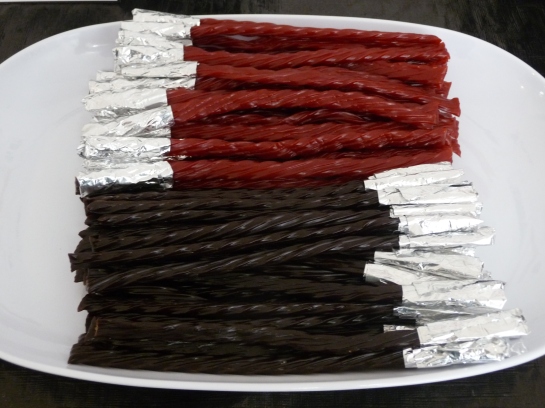
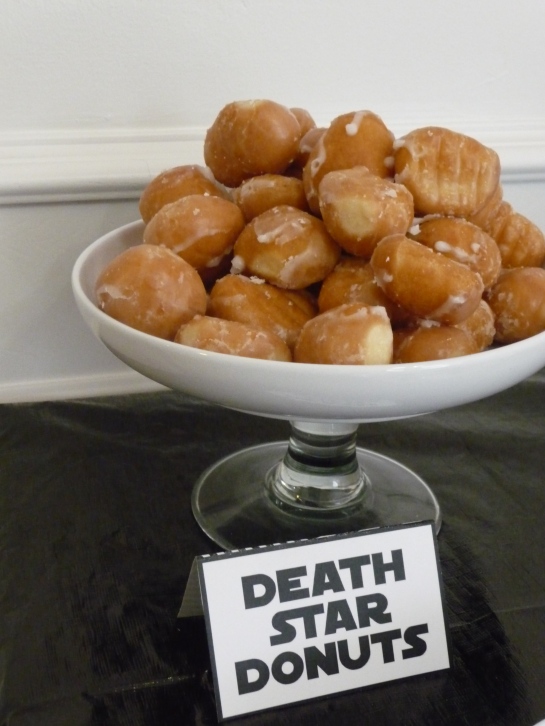
P1130542 P1130591We had a fun time naming the food. My awesome graphic design sister made them for me (see her Etsy shop for those and more birthday printables).

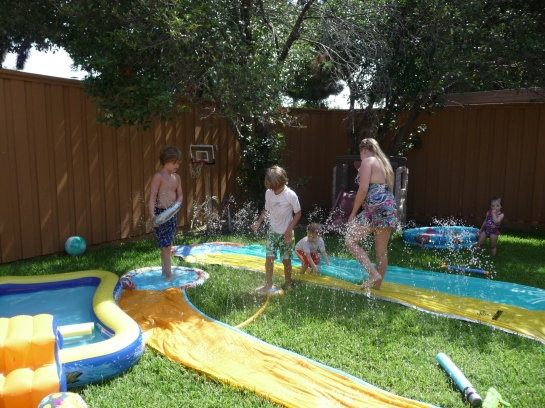
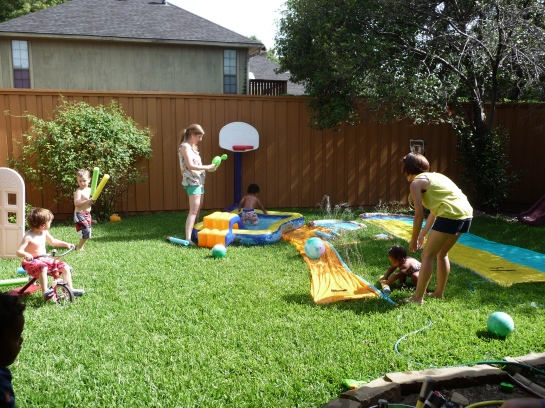
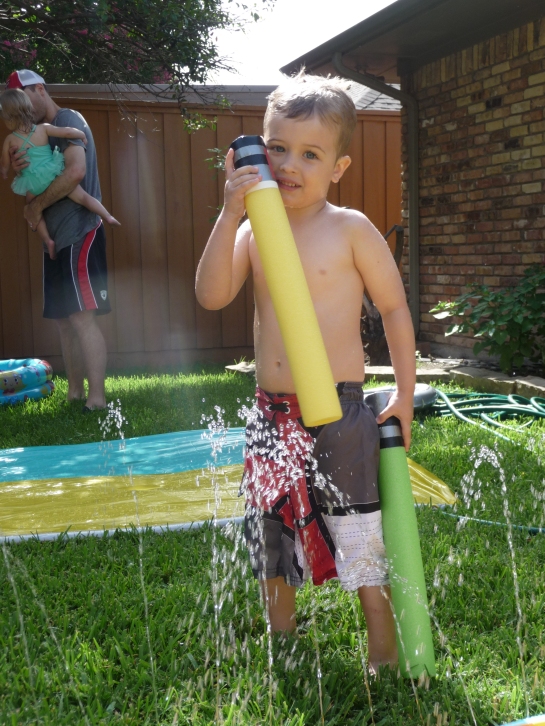
P1130588 P1130587 P1130586 P1130535The kiddos beat the heat by splashing in the kiddie pools and slip n’ slides.

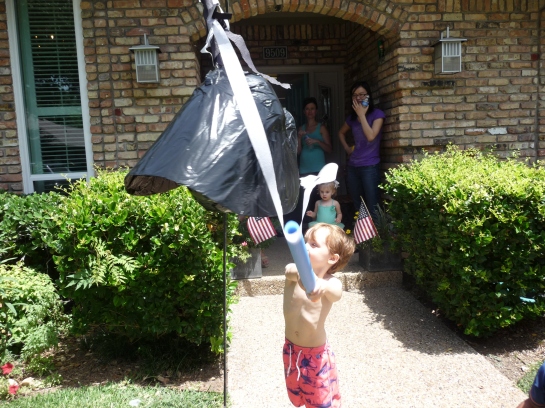
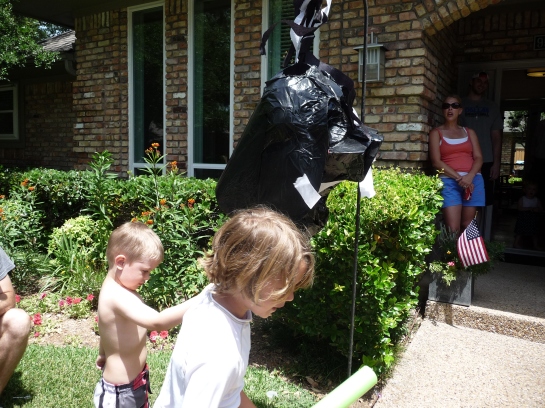
P1130563 P1130557 P1130560 P1130550The party ended with our homemade Darth Vader pinata being bashed by lightsaber noodles.

P1130624 P1130630Much fun was had by all, and one 4-year-old is neck-high is presents and Legos :)

Next year we’re going to Chick-fil-A and taking a family nap for his birthday.  I’m tired.

Links:

Clone Captain Helmet Cake Tutorial

Food card tents

Lego men & block molds

Lego man graphic

Star Wars Font


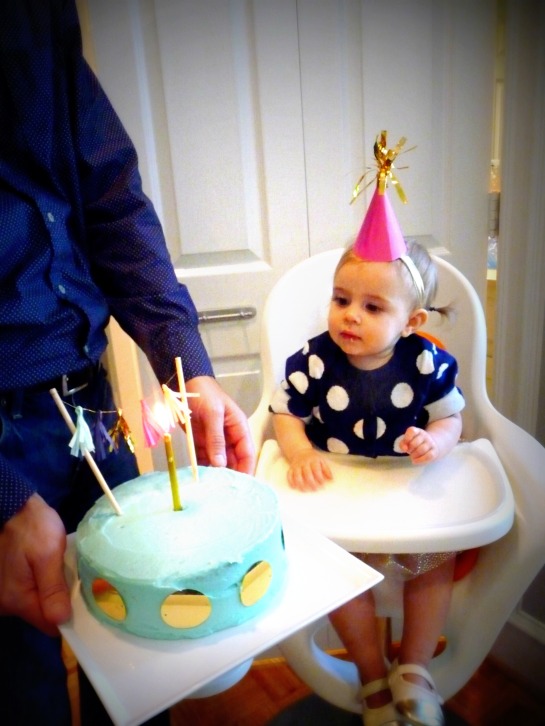
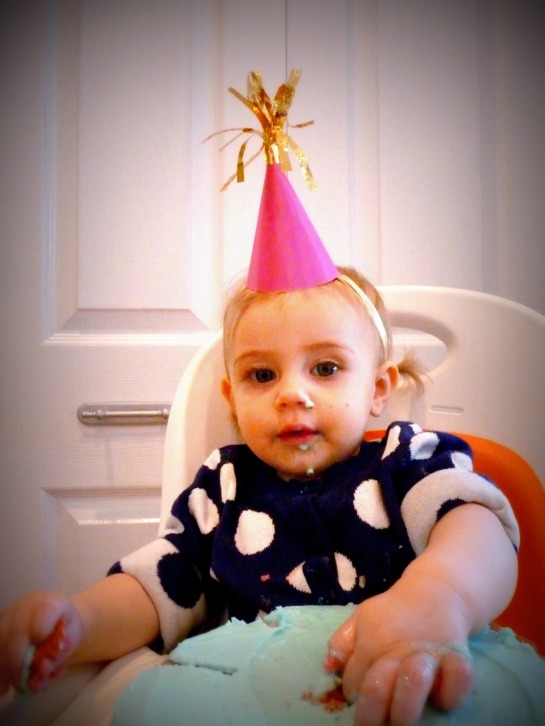
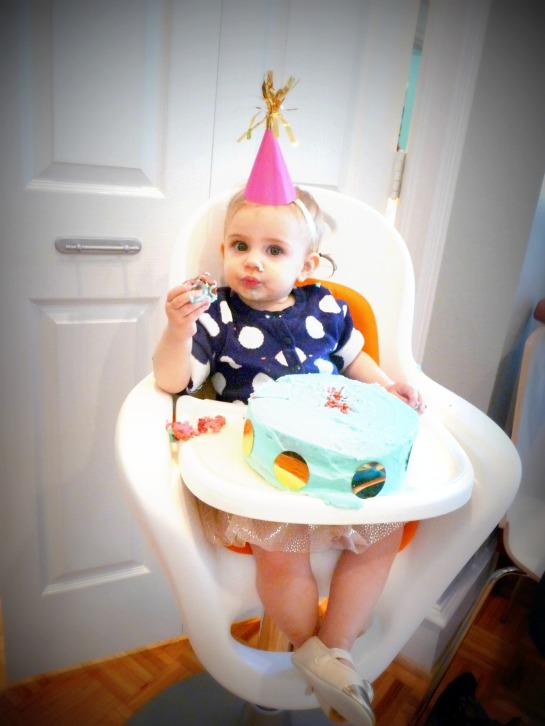
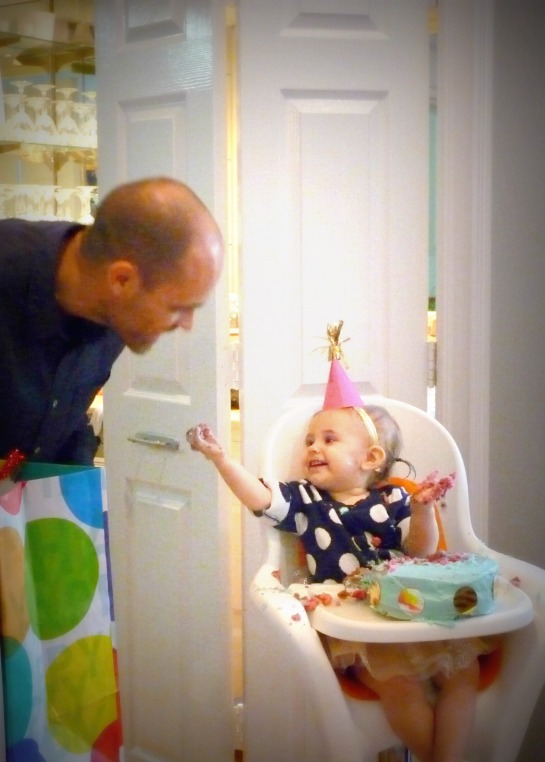
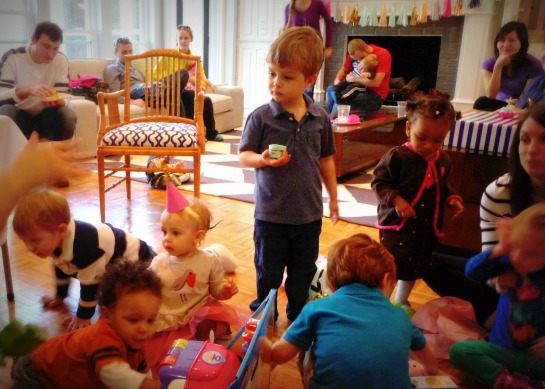
A month ago, my baby turned 1!!!
Where did the time go?!

The past year has been a wild ride! I’ve heard it said before, but didn’t always believe, that the jump from 1 child to 2 is crazy!
And crazy indeed it was.

And yet, here we are, a year later, all alive, all healthy, and much to be thankful for.

After perusing Pinterest for a while, I decided to do a non-theme party and instead chose a color scheme as the theme.

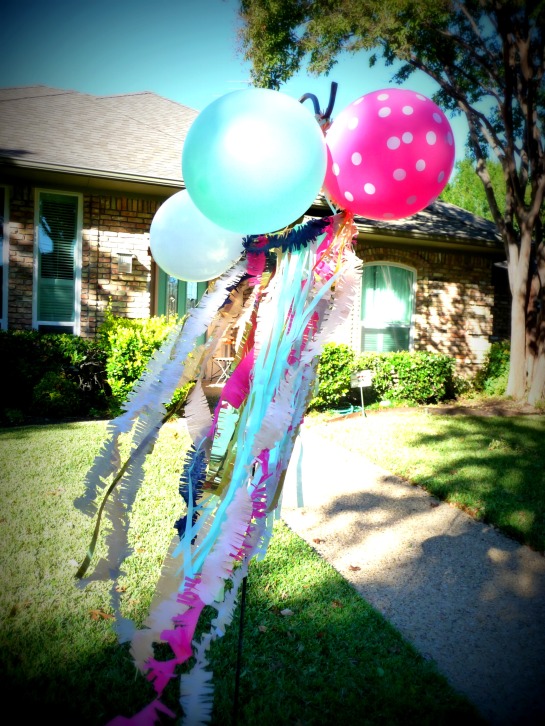
I used an embroidery hoop and hung streamers and ribbons from it to make an outdoor decoration. And added balloons for fun.
0

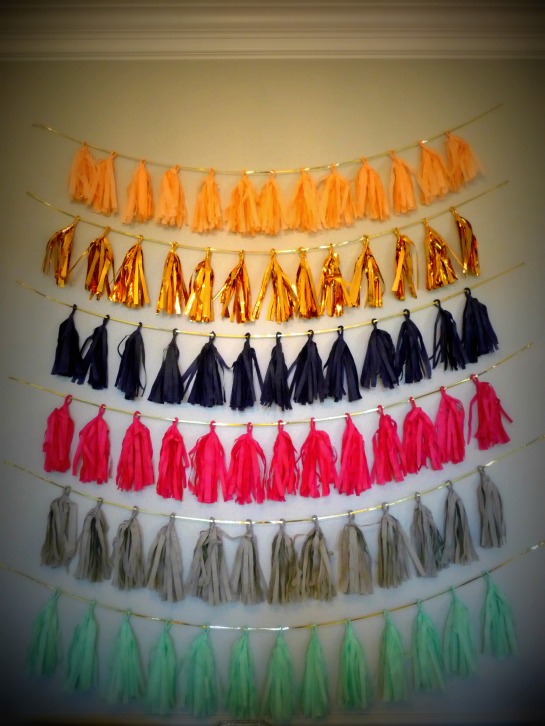
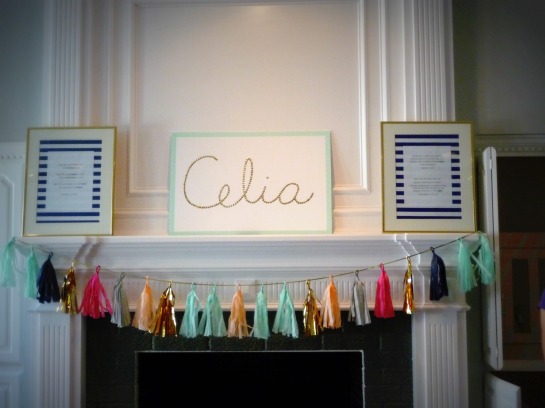
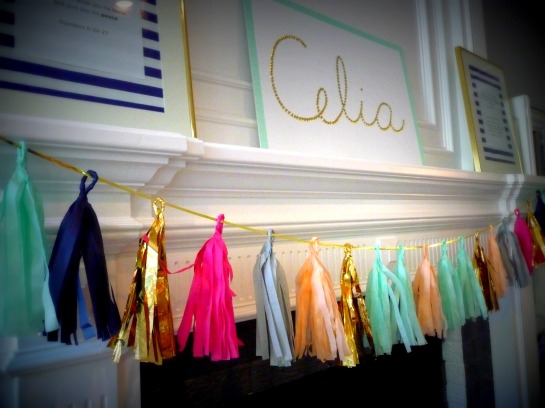
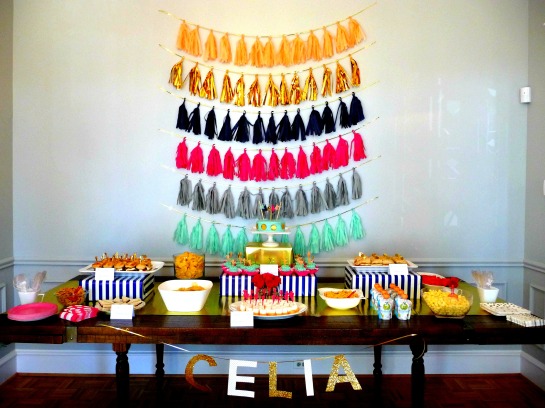
This pin inspired some of the color palette and the tassel garlands.
1

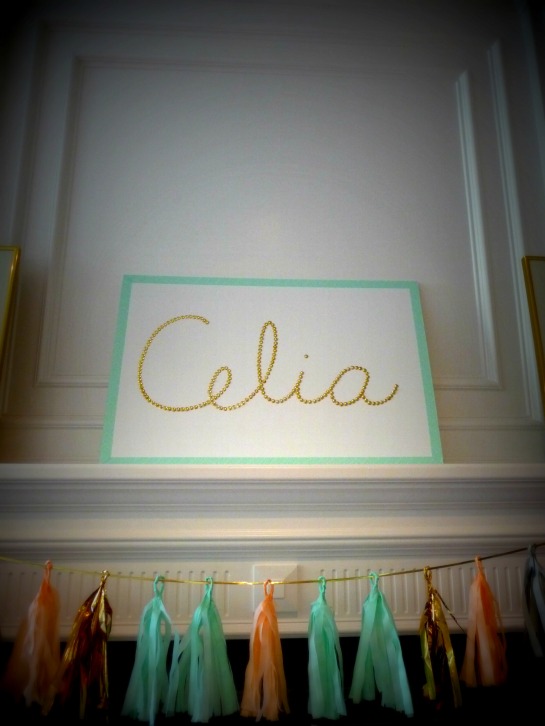
Her name in gold tacks was another Pinterest project.See the inspiration here.
2

3

4

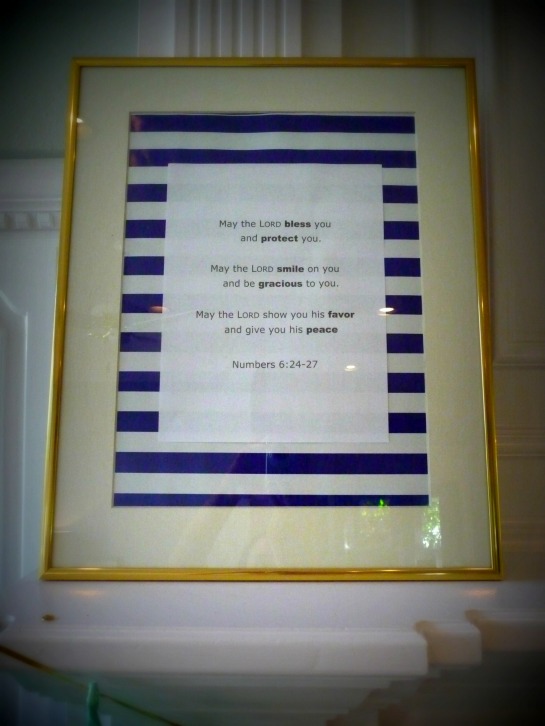
My sweet husband found and printed out some Bible blessings that we framed and placed on the mantel.
5

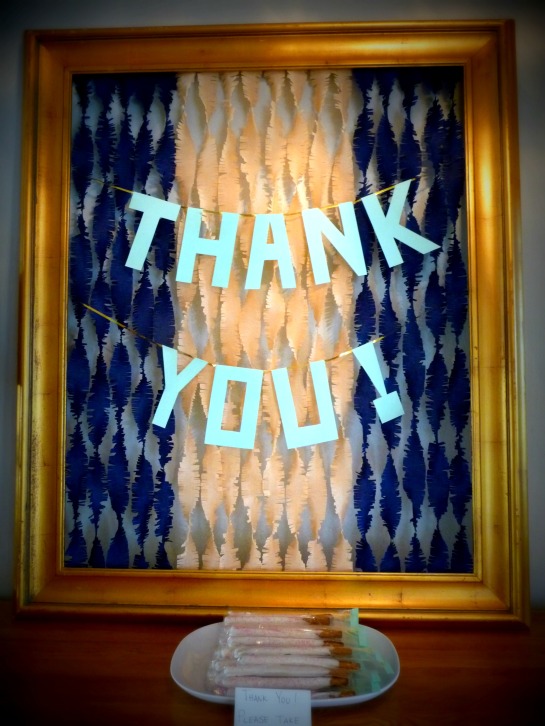
I made a thank you sign by cutting letters out of card stock and hot-gluing them to gold ribbon. Then I took an empty frame, taped streamers to the back, and added the sign.
6

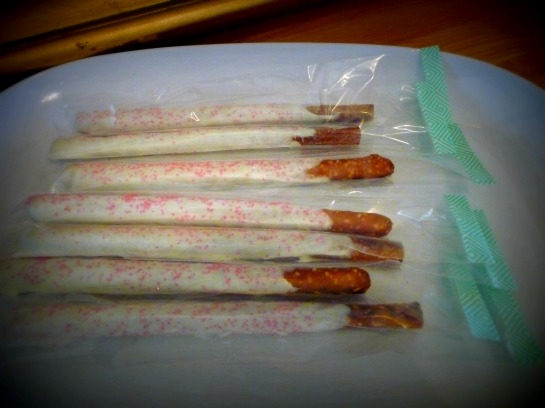
I dipped pretzel rods in vanilla candy melts and used sprinkles for some color. Then I used the Wilton Pretzel bags and some decorative paper tape to make some really easy favors.
7

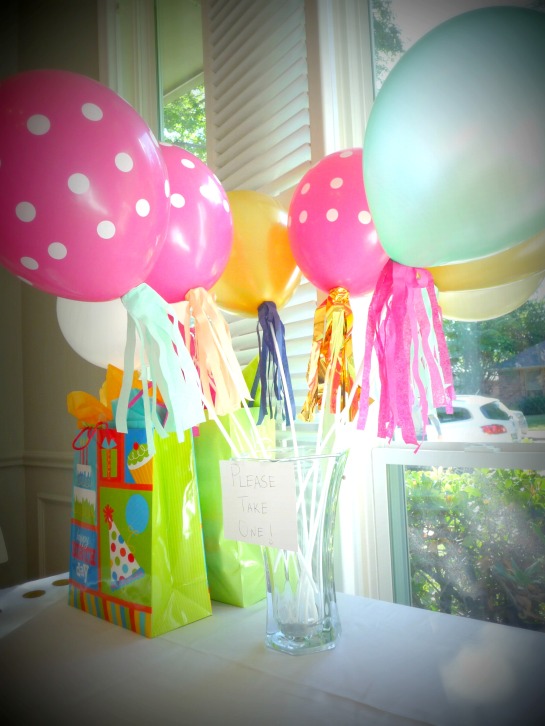
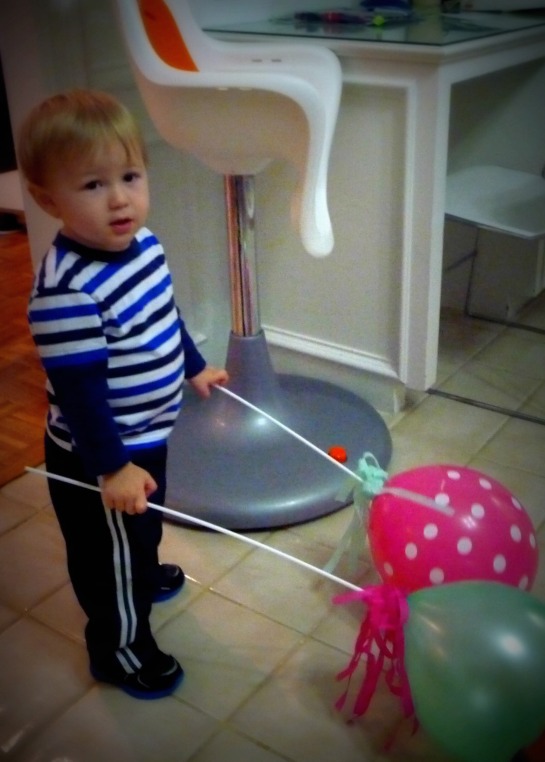
I made balloon “wands” for the kiddos to play with, adapted from a tutorial by StudioDIY blog, one of my new fave blogs!
8

9

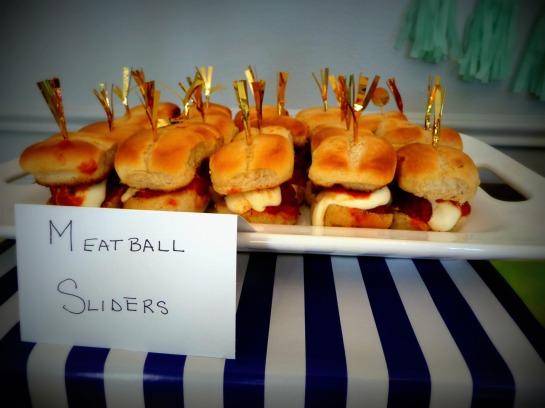
To make these sliders, I used a meatball recipe found on Pinterest. Then I bought some half-baked dinner rolls from Wal-mart. I baked them as directed, then split them open to make top and bottom halves. I placed them under the broiler to toast them, this kept the meatball sauce from absorbing too quickly and making them soggy. Once broiled, I placed a meatball and sauce on the bottom half and topped with a slice of fresh mozzarella. Then again added this to the broiler to melt the cheese. Once melted, I topped with just a little more sauce and put the tops on. I didn’t get to taste one because they went fast, but I hear they were great!
10

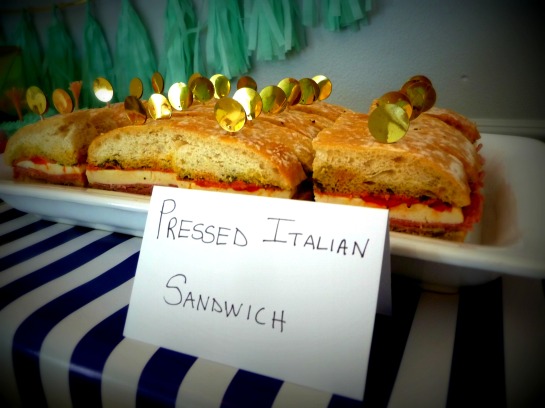
I used this recipe for the Italian Pressed sandwiches. I mostly stuck to the ingredients, except that I used 1/3 lb each of salami, pepperoni, and ham.
11

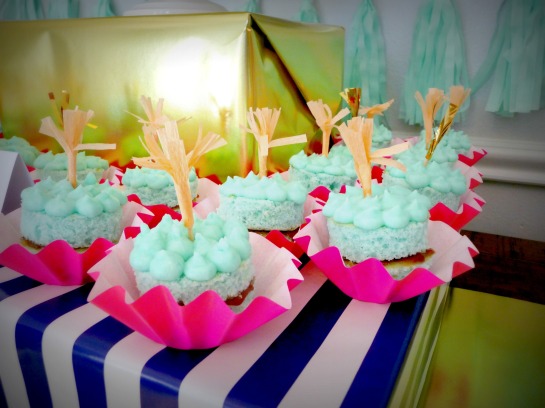
Individual cakes were made using a vanilla cake mix, using food coloring to achieve the perfect mint hue. Then I baked it in an 11×17 sheet pan so the cake would only be about 1″ tall once baked.  I used a cookie cutter to make 2″ rounds, and used raspberry jam for the center. I made a vanilla buttercream for the topping which I dyed to match the cake. The toothpick toppers were made out of regular toothpicks and crepe paper streamers.
12

13

“Is that for me??!!”
14

15

16

17

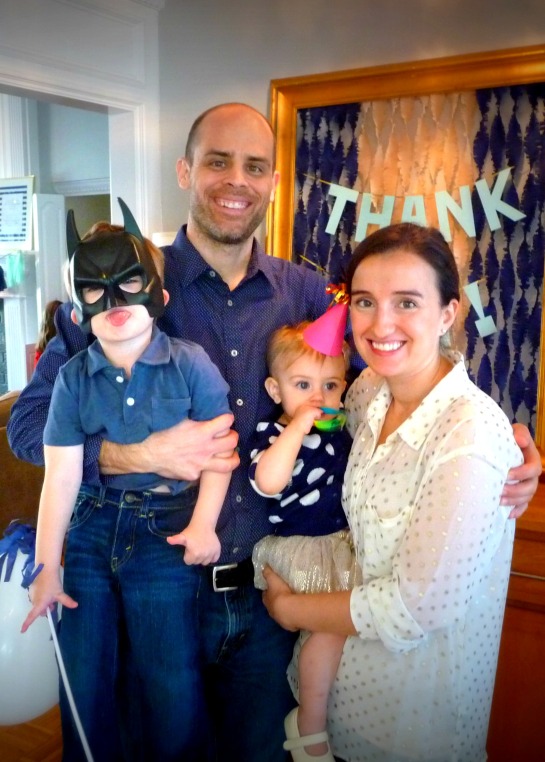
A family picture. Yes, Batman lives here.
18

Kisses!
19

029

037

096

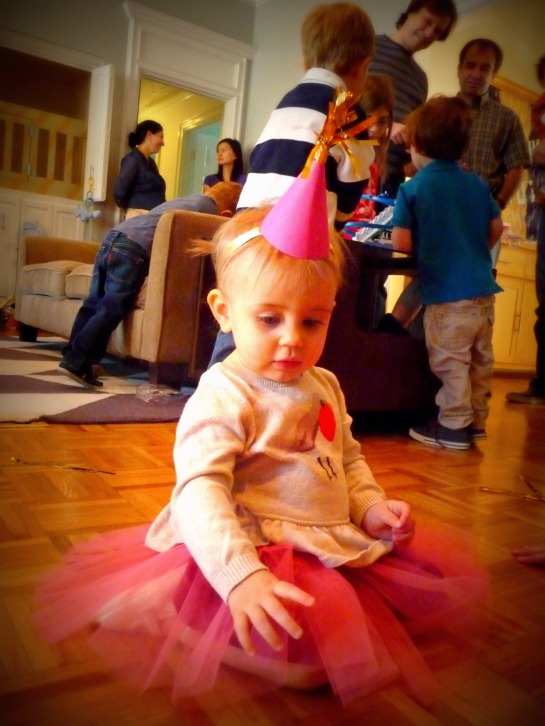
An outfit change had to be made after the cake smash. One must always have a tutu on reserve just in case!
100

102

106

114

118

120

We had some cute babies in attendance!
121

benjamin

gifts

The week before we leave for vacation, we try not to go grocery shopping and instead try to use up what we already have.

This makes for some interesting meals sometimes.

And sometimes necessity breeds innovation, as it did in this case.

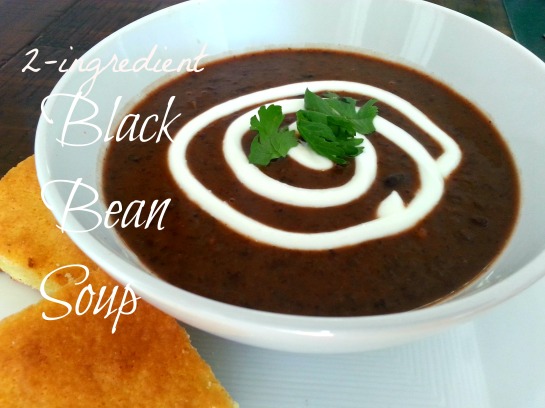
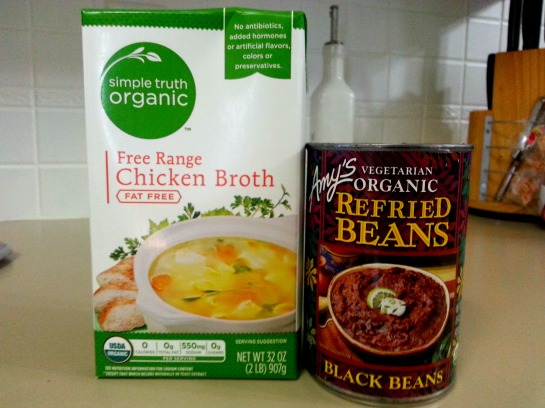
A can of black refried beans and some chicken broth make a very yummy and easy black bean soup that serves two.  Add some cornbread or tortilla chips and you have lunch!
two ingredient black bean soup - hilldalehouse.wordpress.com

two ingredient black bean soup

Easy 2-ingredient Black Bean Soup

(makes 2 1-cup servings)

1 can refried black beans

1+ cups chicken broth

2 Tb Sour Cream or Greek yogurt (optional)

Splash of milk (optional)

Few cilantro leaves (optional)

Empty the can of refried black beans into a pot.  Add one cup of chicken broth and use a whisk to mix together.  Add more chicken broth if you prefer your soup thinner. I didn’t add any seasoning because I found the salt/seasoning level  just right, but you can taste at this point and add more salt/pepper, or even some water if you find it too salty.

Bring the soup to a boil, stirring occasionally to prevent the soup from burning.  Once boiling, remove from heat promptly.

While the soup cools enough to be eaten, you can prepare your garnishes.

I mixed some greek yogurt and a splash of milk and put it in a Ziploc bag to make the cream swirl on top.

A spoon of salsa, some avocado, or even a splash of lime would also be great in this.

Enjoy!

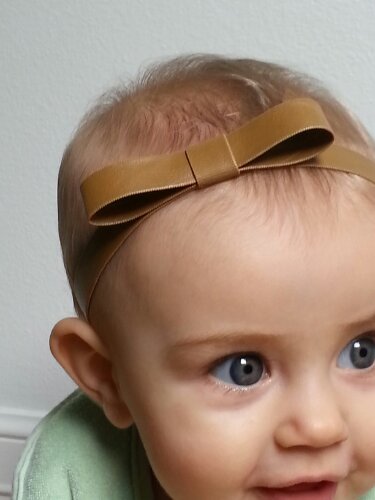
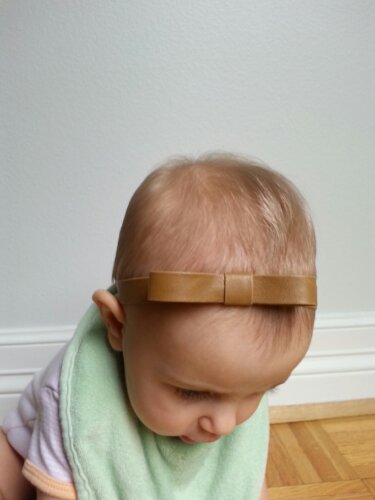
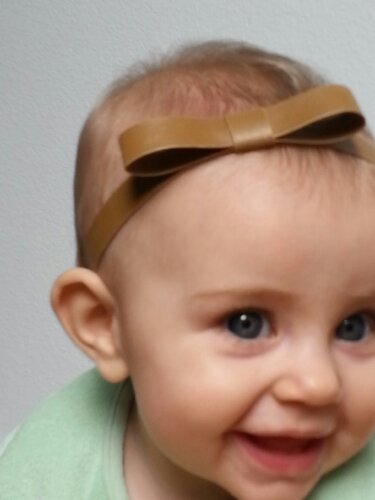
I finally got around to making something for baby girl.

I have a long list of DIY projects I have wanted to make for her including headbands, bibs, shoes, and dresses but the time has just slipped away from me.

So when I saw this faux leather ribbon at Joann’s, I just had to have it.

It took about 1 hour to complete the little bow headband based on this tutorial from Ruffles and Stuff.
The only changes I made were using a shorter elastic length, and I also sewed the bow on instead of using glue.

And it seems she loves it as much as I do :)

image

image

image

4 months ago heaven smiled down on us and our little lovebug, Celia, was born.

It has been 4 crazy months! No one can prepare you enough for the jump from 1 child to 2 children!

First of all, you are now outnumbered. If they are both crying at the same time, you have to choose whom to soothe first.

And Luke, who is 2 1/2, gets a little jealous sometimes. This manifests itself in tantrums, yelling, throwing things, etc. Loads of fun.

But the emotional changes are the most drastic.

I didn’t think it was possible to love another child the way I love Luke. But you can, and for me, having 2 to love makes the love so much more intense!

Of course it makes all of the other emotions intense as well…
If I get stressed, I get twice as stressed.
If I feel guilty over not spending enough time playing with them, the guilt is twice as intense.
If I worry about them not getting enought to eat, the worry lasts twice as long.

All of this said, I would not give this up for the world! I am so beyond blessed to have two happy, healthy children, and I can only thank God for allowing me to be their mother.

And now for some pictures of the little darling who gives the best gummy smiles and likes to have full babbling conversations at 5am :) Words cannot express how much I love her.
011

celia

PIC_5085

002

012

026

011

006

022

This year we finally dug deep in our pockets and invested in a pre-lit, 9-foot, artificial Christmas tree…

…the only reason why I made this promise to Deric:
“I’m going to decorate the tree without buying any new ornaments”. Gulp.

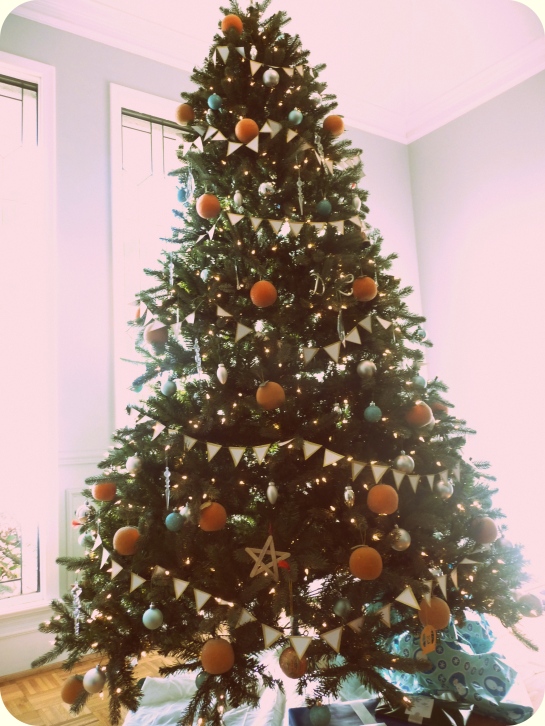
Luckily, I had a bazillion or so shimmery orange ornaments that I scored for 6/$1.00 a few years ago. Those along with some blue, silver and glass ornaments made the tree look just ok.

It needed garland.

So, here’s my updated take on garland. Super easy, but gave the tree an extra umph! (All supplies were left-over from previous projects).
p.s. the color combos/possibilities are endless! use any color paper, with a contrasting paint color to achieve a personalized look for your tree.

Instructions:
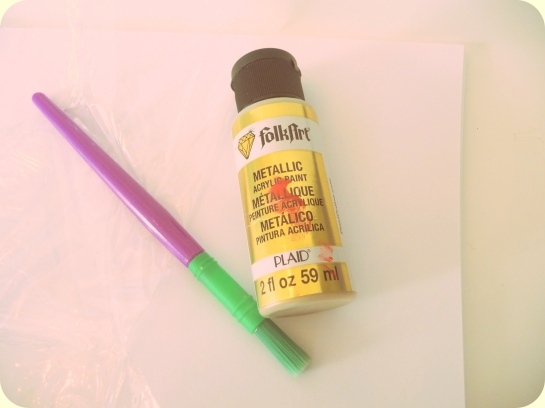
Start with 8 x 11 cardstock, gold acrylic paint, any old paintbrush.
Gold triangle garland - supplies

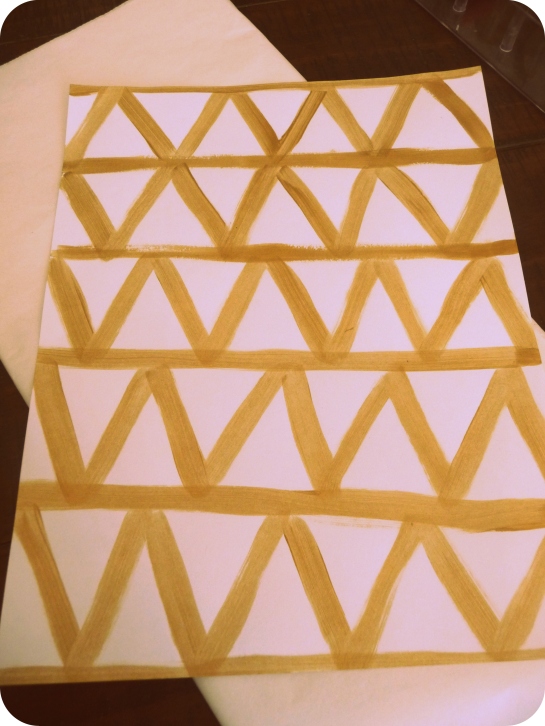
Paint 5 rows of triangles (pennants). (If you want your triangles to be larger, paint less rows.)
Gold triangle garland - entire paper

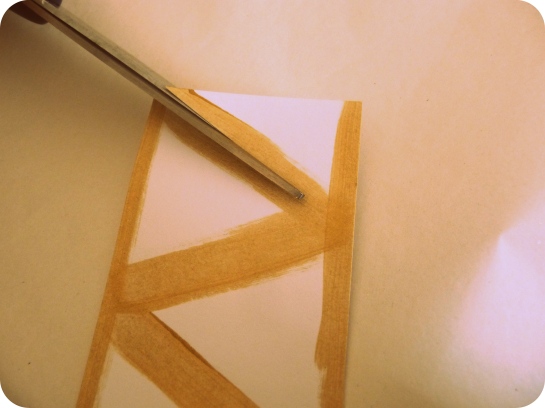
Paint your lines fairly thick, and then cut in the middle of the lines. That way, each triangle (pennant) will have a gold border.
Gold triangle garland - cutting triangles

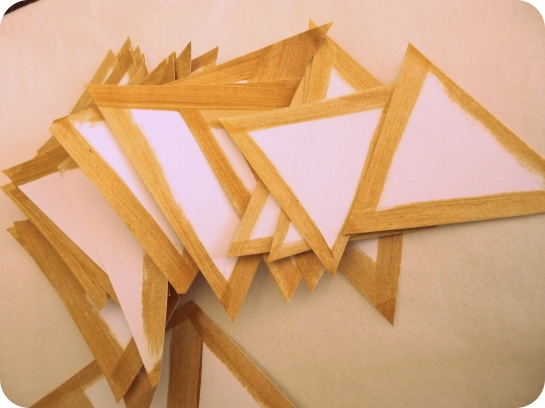
Gold triangle garland - pile of triangles

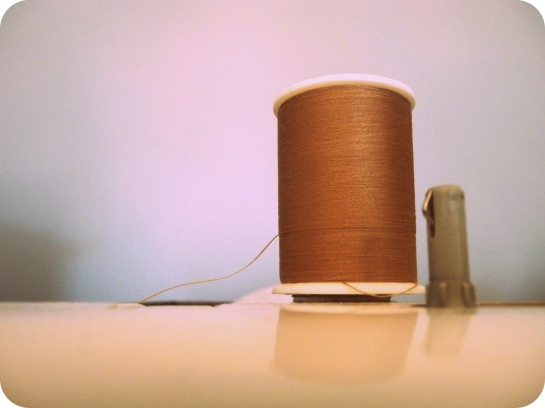
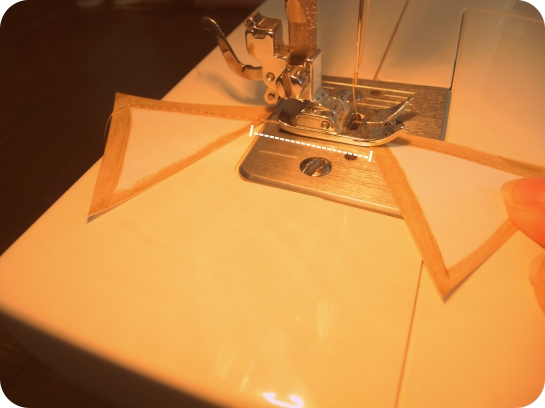
Use a gold/beige colored thread to sew the pennants together. I used a medium stitch. Pull the thread out about 6 inches before you start to sew, this will be used to attach the garland to the tree.
Gold triangle garland - gold thread

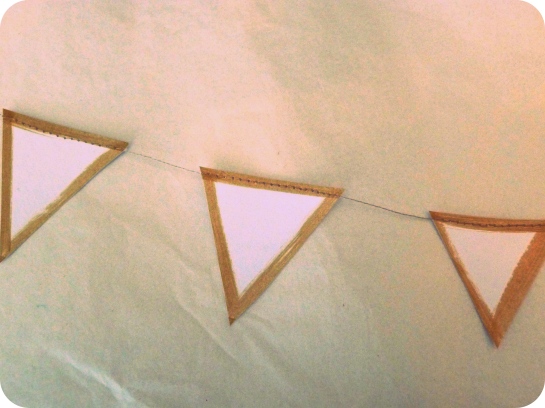
Very important: leave about a 1-inch space between each pennant – the space will allow the pennants to hang over the branches without looking too stiff.
Gold triangle garland - spacing

Also very important: Sew only about 3-4 feet of garland at one time. If you make a longer strand, the pennants will get tangled. It is also easier to drape a shorter segment on the tree.
Gold triangle garland - spaced

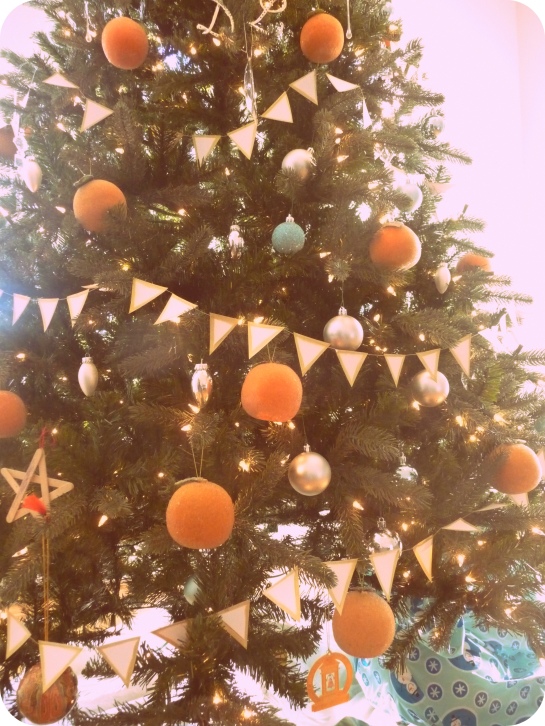
And there she is! kind of a mish-mosh of styles, but it’ll do!
Gold triangle garland - tree

Gold triangle garland - up close

Gold triangle garland - entire tree

I subscribe to the “better late than never” philosophy – it’s mandatory if you are a procrastinator, it’s in the handbook.

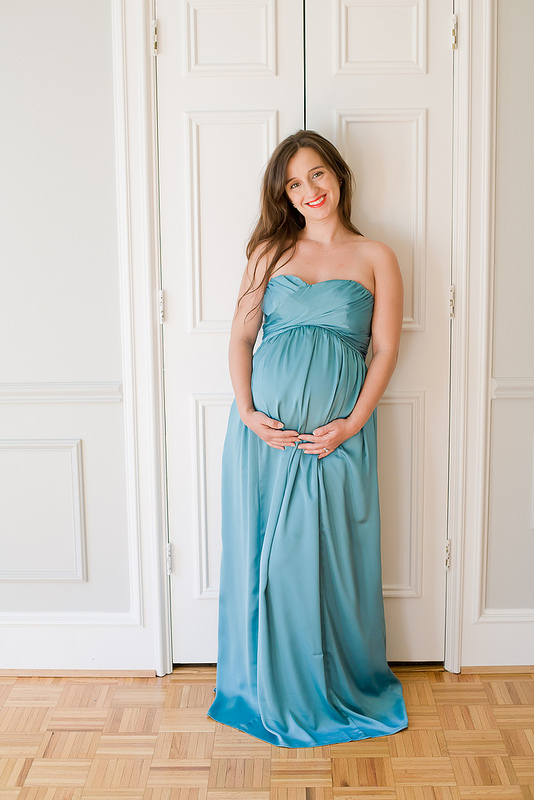
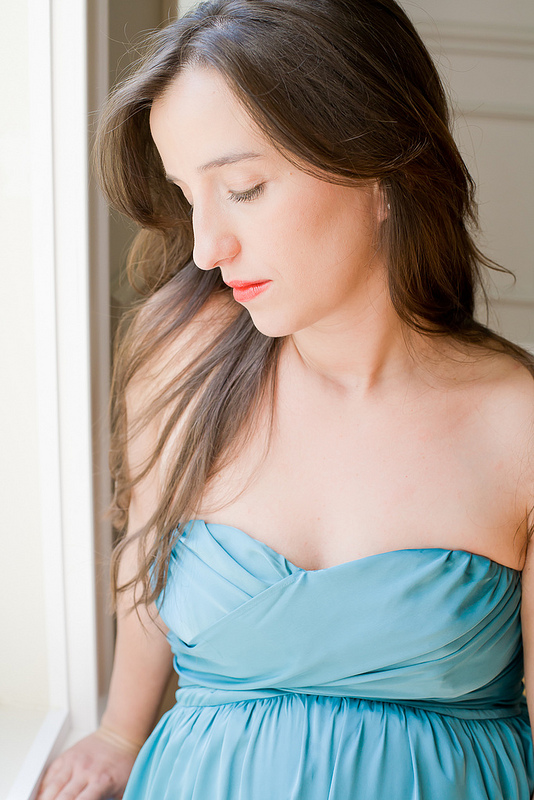
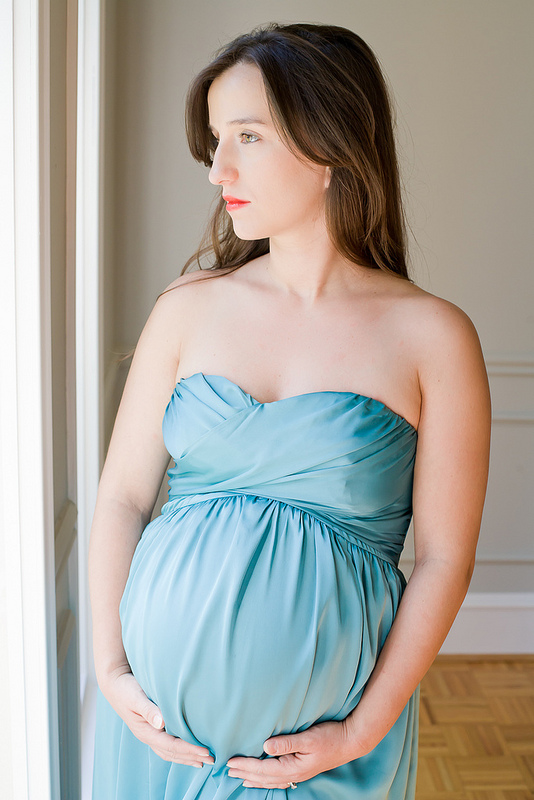
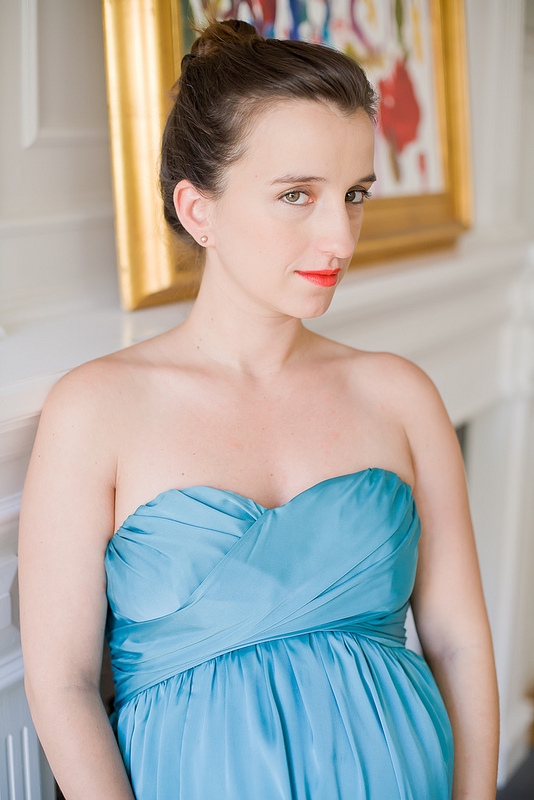
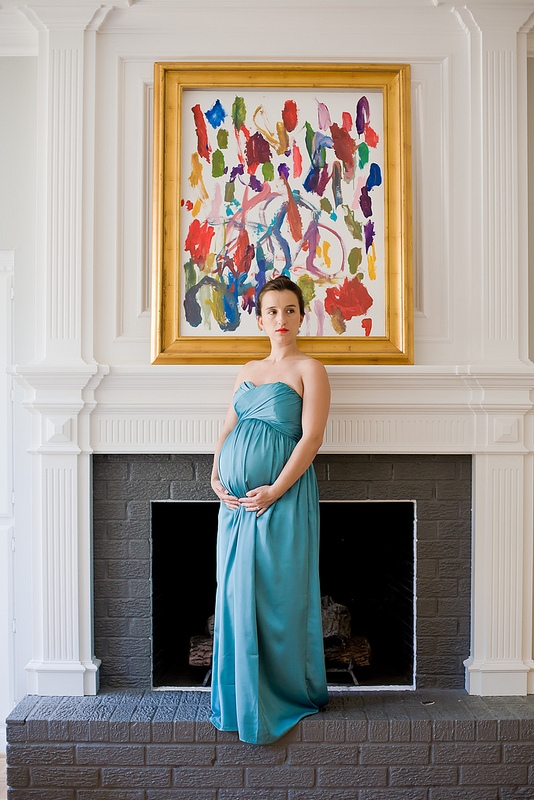
So that’s why I’m posting maternity pictures after baby is born…

Also, my sister did such an amazing job that I want everyone to see how talented she is.

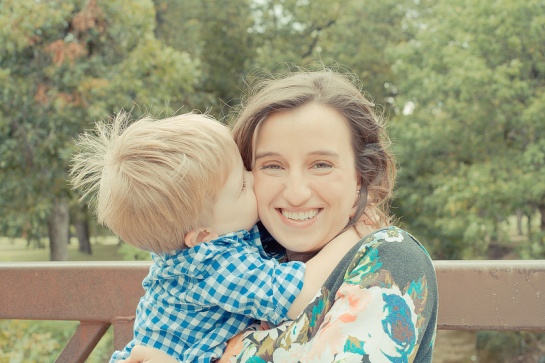
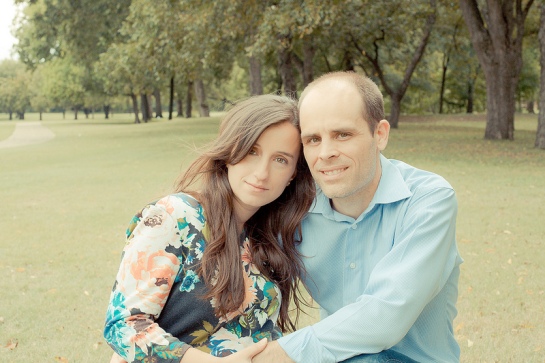
Here are a few of my favorite shots:
If you want to see more, visit her blog post where she writes about her visit to Dallas. As a bonus you will also get to see me at the fair without make-up in my mommy costume (jeans, tank, tennis shoes, whoa sexy!). and If you have an extra hour in your day and are a sucker for punishment, you can check out her flickr page and see more pictures of me pregnant than should be legal. Thanks again Tabi, you are the best!

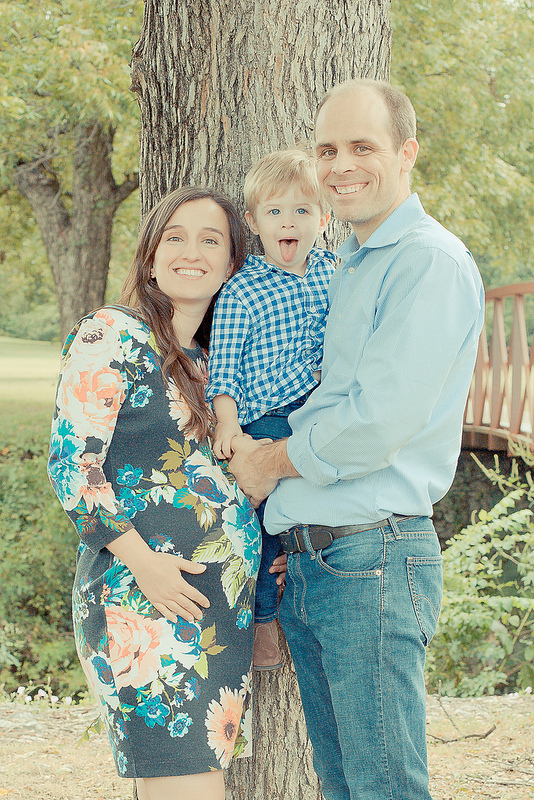
We took our family pictures in the park down the street. It was windy, and close to Luke’s nap time. That’s why our best family photo has him sticking out his tongue. But that’s ok because it captures what he is really like – a spunky, strong-willed 2 year old boy!
Wardrobe:
Me – Dress: H&M, Shoes: Thrifted
Luke – Shirt: thrifted, Jeans: thrifted, Boots: Target
Deric – Shirt: TJ Maxx, Jeans: Levis

I had envisioned casual maternity photos wearing a maxi dress or jeans. But as I scoured the stores for a green maxi dress, I stumbled upon this polyester satin gown at Target… it cost me a whopping $8.65 my friends!! I wasn’t planning on doing such a formal look, but once I found the dress, it set the tone for these pictures taken in our home. (this group is my favorite :)
Wardrobe:
Dress: Target, Lipstick: Tarte

And finally my sister wanted to take some photos at sunset because of the golden light at that hour. Luckily, there is an overgrown field very close to our house. By this point I was pretty tired and my poor feet had enough. That’s why my smile looks a little forced… because it kinda was :) But the pictures turned out so lovely in that light!

So much has happened since my last post!

And so I will attempt to play catch-up…

The MAIN event:
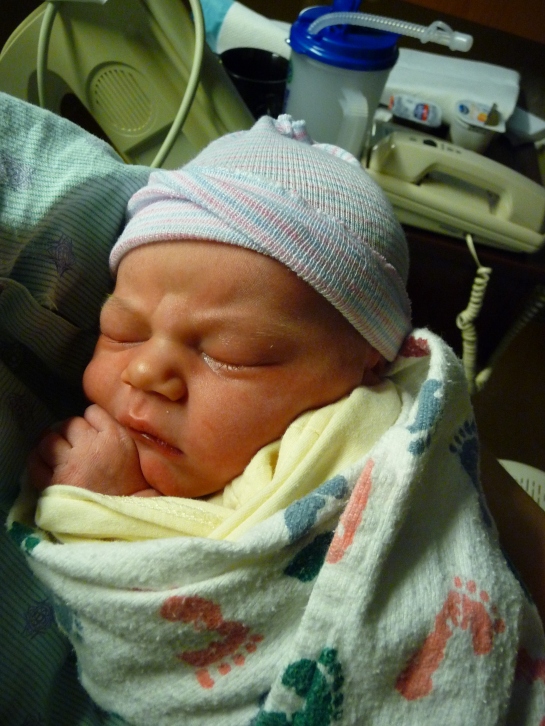
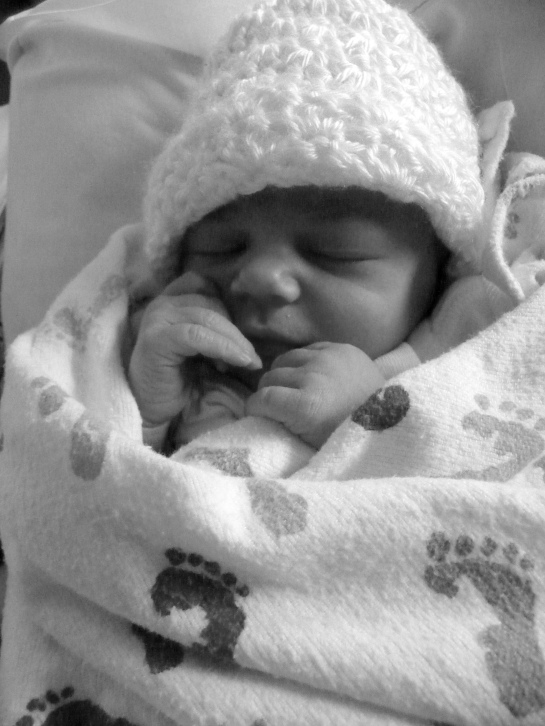
Baby Celia made her world premiere last week! More on that later, but here’s a photo of our angel -cuz that’s what mommas do :)

Pure sugar and spice!

And the other stuff:
– Our master bathroom remodel is complete! At least on the contractor’s end. The finishing touches are up to the resident designer (me), who I hear is a major procrastinator and commitment-phobe – yes even when it comes to choosing a soap dispenser, so it might never be really “finished”.

– My sister came to visit from Washington state and took my maternity pics – they turned out so fantastic! and brought her baby with her, Bonus awesomeness!!

– I sewed my first crib sheet(s)! I found a super easy tutorial – watch out friends with babies, this may be the new baby shower present :)

– A dye and refashion job on white maternity jeans.

– Luke’s “Despicable Me” minion crochet hat.